When we last left this project the pod was complete and awaiting for arrival of the stern thruster unit.
Click here to read about Part 1 of the installation.
Given the time it took to create the pod, without having the actual thruster on hand to check fit, it would seem that it would be quite worrisome whether the thruster mounting pad would match up to the mounting surface of the pod. Fortuately there was the engineering and application that came before us which assured that the results would be accurate… and it was!

It was time to get to the boat and work out the attachment scheme. First up was to get through the bottom paint and grind out the gel coat to have a raw surface to bond with. Attaching the thruster unit was still a long way off and was set aside until the pod and the hull became as one. Using a jack stand the pod was put into position for mounting.
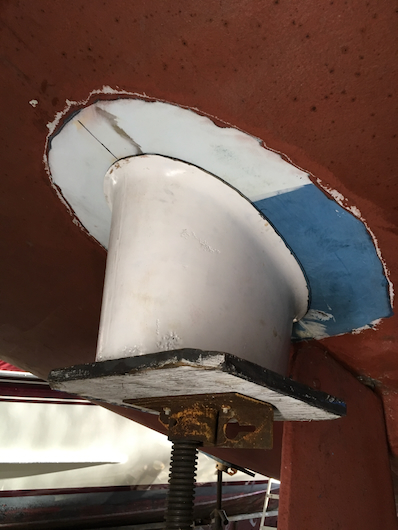
Fastening.
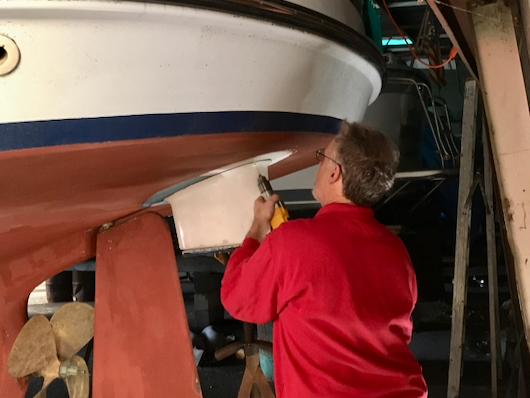
Bolt pattern.

Core thickness.
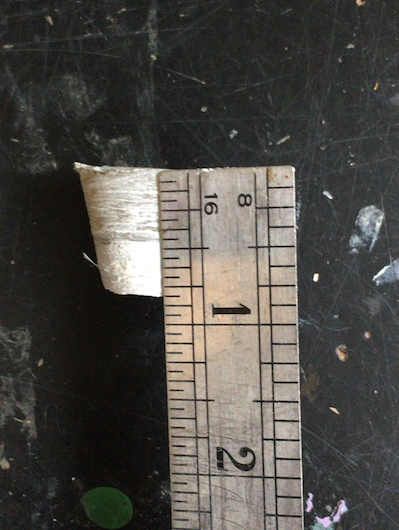
Backing plates.
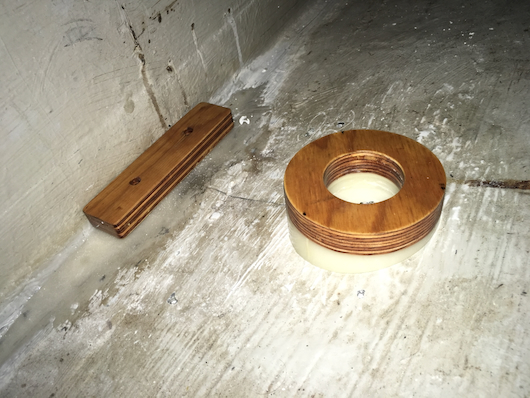
Fillet.

Finish coat.
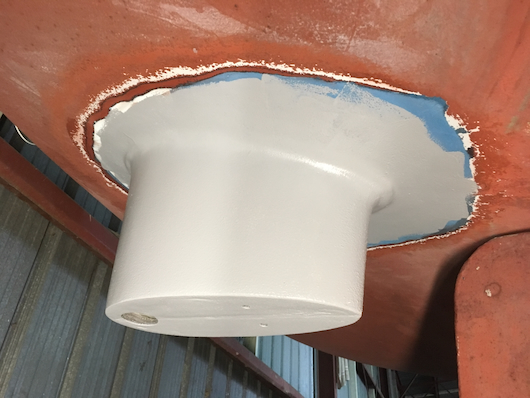
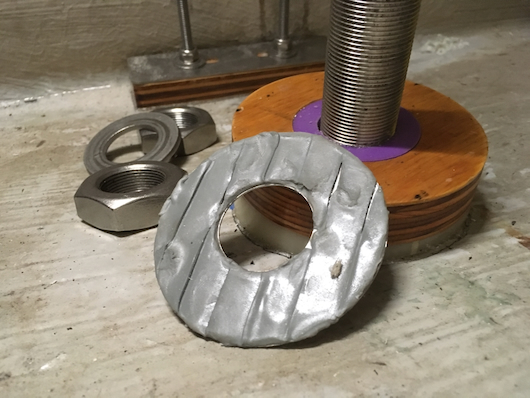
Though bolts.
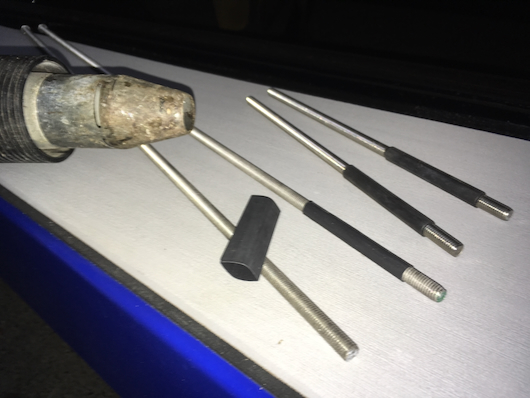
Pod anti-fouling.
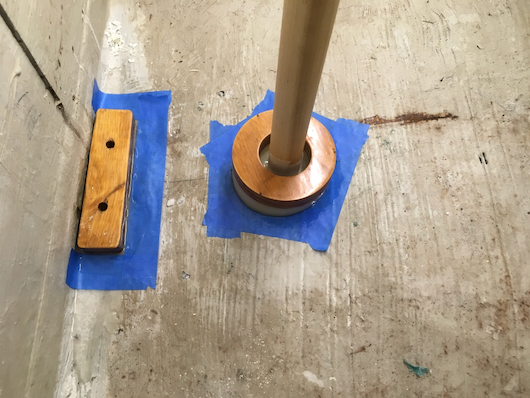
Electrical conduit.
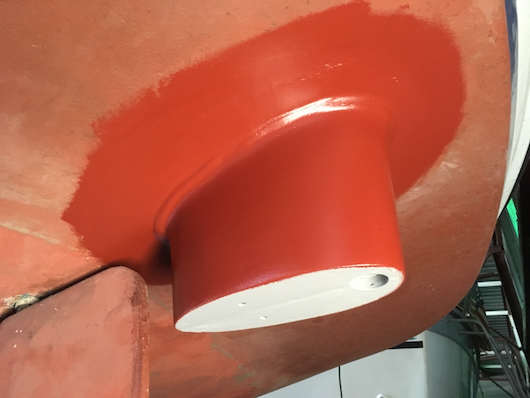
Mounted.
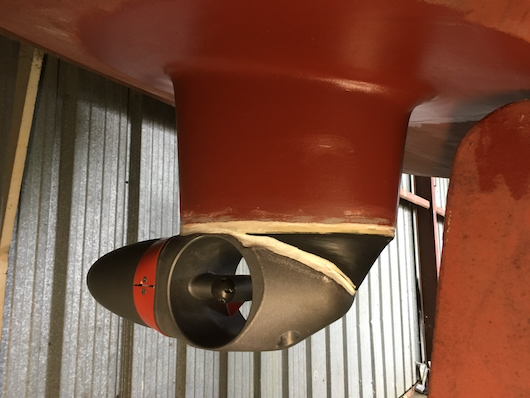
Thruster anti-fouling.
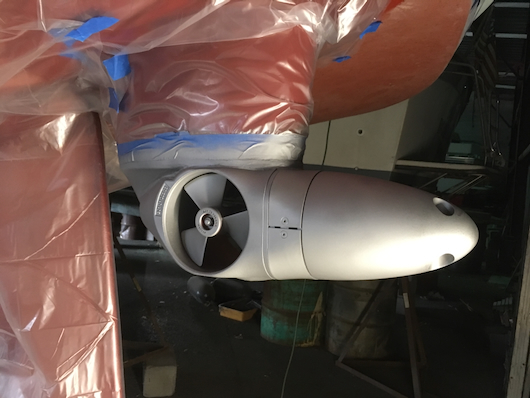
Inside assembly
Complete.
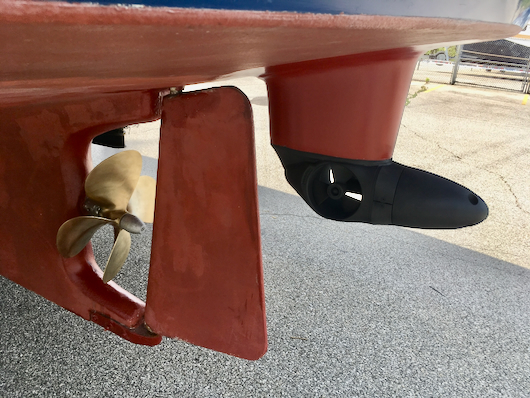
Closeup.

Dual joysticks
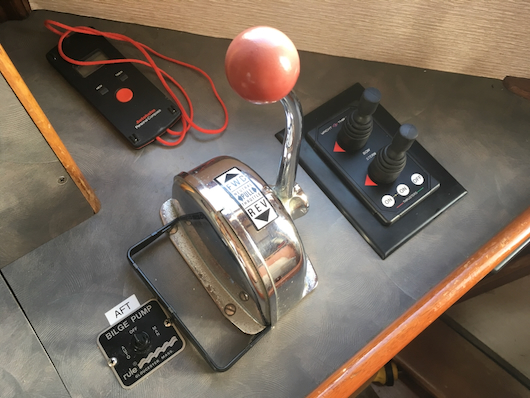
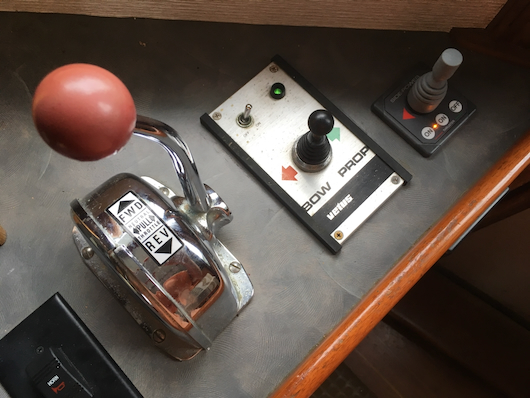
Dedicated joysticks
Batteries.
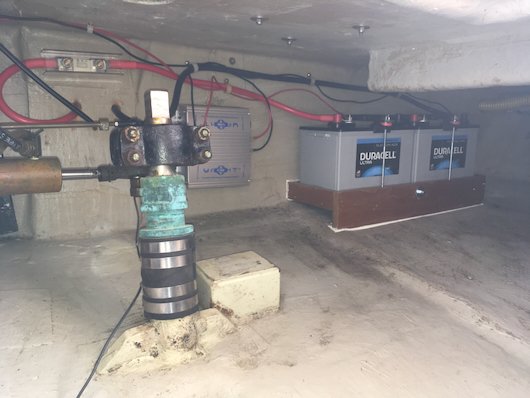
Charger.

iBox.

Test run.
Fini

